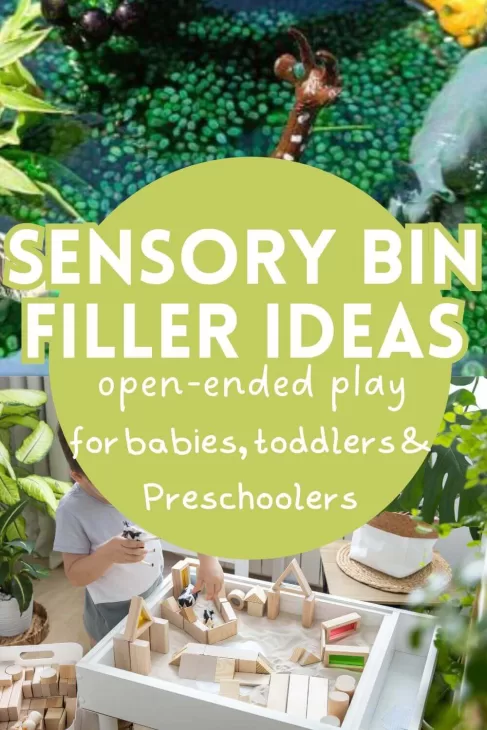
Sensory Bins are a great way to entertain your child. They spark creativity, help develop fine motor skills, and is also a great calming activity. It encourages play through exploration and provides lots of exciting textures and colors. One of the best things about sensory bin activities, is they are completely customizable. Whether you are making a sensory bin for a 9 month old baby, or you have a two year old toddler, or you have a 5 year old kid who’s bored on a rainy day. It can provide endless fun for all your kids! Another great thing is you can use whatever you have around the house to create a sensory bin. You can make them as simple or as fancy as you want. So read along to get some inspiration from this list of ultimate sensory bin filler ideas!
This post may contain affiliate links. To view my disclaimer, click here.
What Are The Benefits Of Sensory Bins?
Not only are sensory bins a fun, screen free activity, they are super beneficial to the learning and development of children. It gives them the opportunity to explore the five senses through play. Different fillers can provide many different textures and substances where your child can touch, see, hear, smell, and even sometimes taste. It also helps with their behavioral development, giving them an open-ended activity that can help calm and focus them.

Making Your Own Sensory Bin
When it comes to making a sensory bin, you want to keep the age of your child in mind. If you have a smaller child that is just being introduced to sensory bins, you want a container that is more shallow so it is easily accessible for them. As your child gets older, you can use larger containers. This also applies to what you are filling it with. If your child still tends to put stuff in their mouth, make sure whatever you are putting in there is safe. Luckily, there are many different edible options you can use!
Types Of Containers
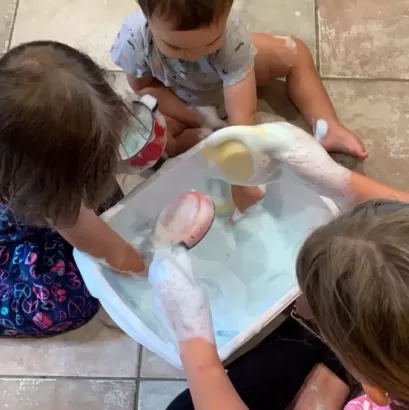
There are so many different containers that can be used for sensory bins. As mentioned above, if you have a younger child you will want a shallower bin. As they get older, you can use things like large mixing bowls, plastic bins with lids, even a larger tote! If you have the space, there are also sensory tables you can buy. While these may be a little pricey, it can be a great investment because of the area they provide. It all depends on what you are filling it with.
I love using plastic container that come with lids. They are easy to clean, come in many different sizes, and the best part is they can be stored away to be used again later. It doesn’t even have to be fancy. I bought mine from the dollar store and it’s lasted us a couple years!
Filling Your Sensory Bin
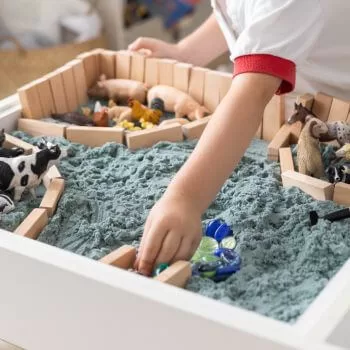
Now you need a base for the bin. There is such a vast variety that you can use. Think about what kind of textures you want to introduce. Different fillers can be crunchy, slimy, dry, soft, smooth, bumpy, etc. They an also provide different sounds or smells, or edible ones can have different tastes of course!
For younger babies that are all about putting everything in their mouth, here are some taste safe options:
- Cereal (you can even grind them up in the blender to create “sand”!)
- Yogurt (you can use food coloring if you want to make different colors)
- Edible playdough by mixing cornstarch and yogurt
- Cooked pasta
- Mashed potatoes (you can even use dry instant potatoes)
- Ice cubes (again, you can dye them different colors using food coloring, or freeze juice)
- Jello (hide object inside before the jello sets)
- water
If you are not super worried about them eating the filling, here are some more filler ideas:
- dried beans (use different colors to give an opportunity to sort them, too)
- rice (find how to color rice here)
- Kineteic Sand
- Bubble foam (mix dish soap and water in a stand mixer until light and fluffy)
- Shredded paper
- Cotton balls or pom poms
- Aquarium rocks
- sand or dirt
- oobleck (mix equal parts cornstarch and water)
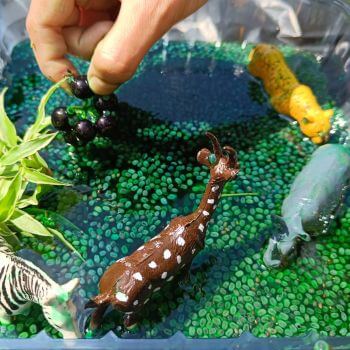
- Water beads (these are best for older kids as they CANNOT be ingested)
Tools Used In A Sensory Bin
There are so many different tools you can use with your fillings. It is best to use things that are easy to clean. Different tools can help develop many different fine motor skills such as scooping, pouring, mounding, pinching, squishing, and stacking. You can use whatever you have around your house, or you can get a kit with multiple different tools that can be designated for your sensory bin. Here are some ideas of what you can use that you may already have:
- spoons
- cups
- tweezers
- cookie cutters
- small bowls
- molds (like small jello molds)
- measuring cups
- eye droppers
More Ideas To Use In A Sensory Bin
You can just leave your sensory bin at that, a filler and some tools. That is definitely enough to keep your little one busy for quite some time. You can also take it up a notch and add other objects in there. You can bury things for them to dig for and find, you can freeze things in ice and have them try to break through the ice or pour water to melt it, or you can add different toys just to make it more fun! Here are some ideas:
- Hide sea animals in blue jello before the jello forms completely for them to dig out
- Use construction trucks to push sand around
- Hide colored gems to dig up and then sort by size or color
- Bury rocks in sand or dirt
- Use cotton balls or pom poms in water to provide multiple different textures
- Hide letters and try creating words out of what you find
Sensory Bin Tips
There are a few things to keep in mind when it comes to sensory bin play:
- Always closely supervise your child while they are playing
- If you are making a sensory bin for a baby, choose large objects that are easy to grab and safe for when they put them in their mouth
- For toddlers, add in tools for scooping and pouring to give them more of a challenge
- As your child gets older, you can make the bins more complex
- Depending on the contents of your bin, consider laying a tarp or plastic table cloth underneath for easy clean-up
- Store dry fillers in tupperware or plastic bags to use again later
- You can use this activity to calm your child
- You can also use this as an opportunity to work on identifying colors, shapes, and sorting
- Use holidays as inspiration to make different themed sensory bins
- Let your child explore and play at their own pace and leisure
Sensory bins are one of the best ways to get kids into independent. If they are bored or antsy, break out some of these ideas and watch their creativity blossom.
Are there any other great filler ideas that are not on this list? Have you made or seen a sensory bin idea that was a hit that isn’t covered here? Drop your thoughts or ideas below! And as always, thank you for reading!


What do you think?